Shiplap Tutorial for Dummies

Shiplap2

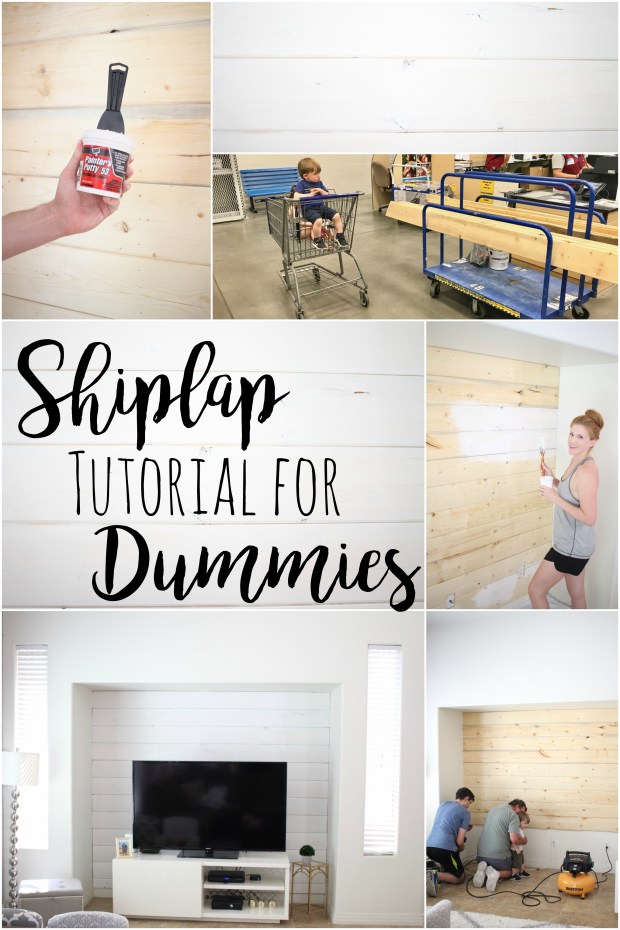
So do we even need to talk about the girl crush millions of women have on Joanna Gaines????  This chick has made the shiplap farmhouse style travel from the heart of Texas to places like Las Vegas where there are no green pastures and goats running around.   I love her style BUT can’t let my house scream farmhouse living in the desert so we decided to do a small accent shiplap wall.   Now when I talk about the Doyles and DIY on a scale of 1 to 10 on a home improvement scale I’d say I am a negative 5 and my husband is a 1 (sorry honey).   We aren’t good at DIYs and have basically no skills when it comes to sawing, drilling, nailing, etc.   SOOOO this tutorial is truly for DUMMIES as we have NO EXPERIENCE with this stuff.
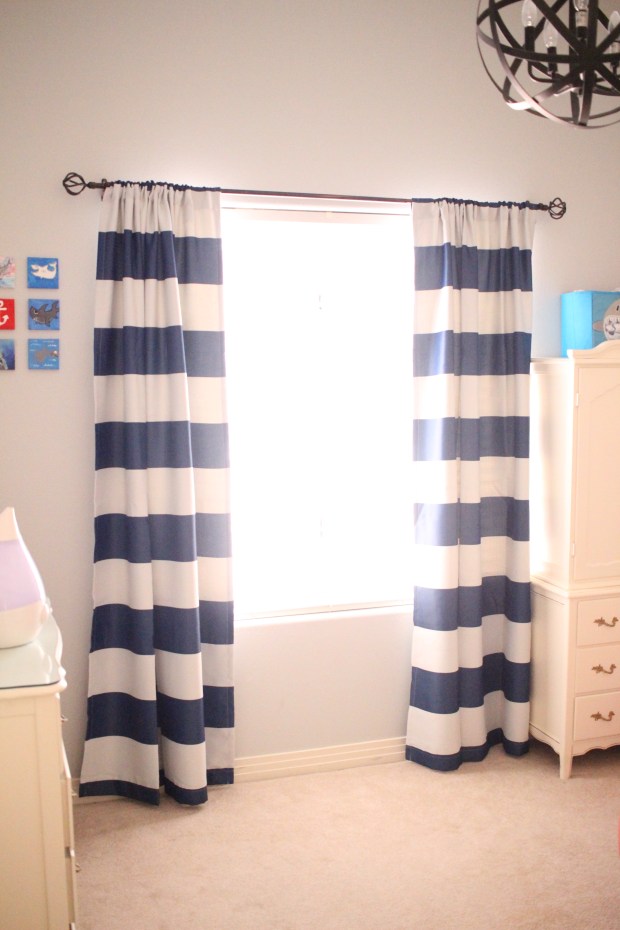
IMG_5166

A VERY UGLY BEFORE

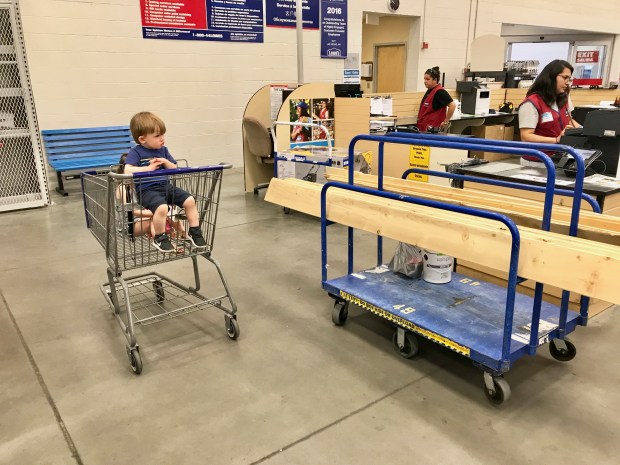
First off we went to buy the wood at our local Lowes.    Now buying the wood was easy, getting it to our house was a whole other story….. 11 planks of wood, two toddlers and car seats, 100+ degree weather, and a car that was just slightly too small caused for several trips back and forth from Lowes to home.   I was all ready about to give up, but my hubby preserved breaking a major sweat in the Las Vegas heat.   At Lowes we also bought hole putty, a spatula thingy to apply it {yes that’s a technical term}, and white paint.

IMG_5160

Our major purchase for this project was this nail gun from Amazon.   If we already would have owned something like this {or could have borrowed one} it would have made this wall under 100 bucks to make.    We are hoping to get more uses out of this nail gun as my husband feel like he can take on the DIY world now.

My husband then moved the furniture and measured the wall and cut the wood to that length.   Next using the nail gun we attached the first piece of wood to the top of the wall.   Using quarters as spacers we alighted the next piece of shiplap and stapled.    Now this project {IF YOU DON’T HAVE KIDS} could take a few hours, but since we have two toddlers and couldn’t work during nap time because of noise issues it took us a couple of days….um weeks….   Imagine-sharp tools, a nail gun, and two screaming kids ready to get into everything.   Yea it wasn’t easy but we did it!   We finally got frustrated and asked for help and my dad came over to be an extra set of hands to hold the wood so I could distract the kids.  And the typical first timer DIY disaster took place….we ran out of nails….DIY fail.  

IMG_3346IMG_3350

IMG_3348

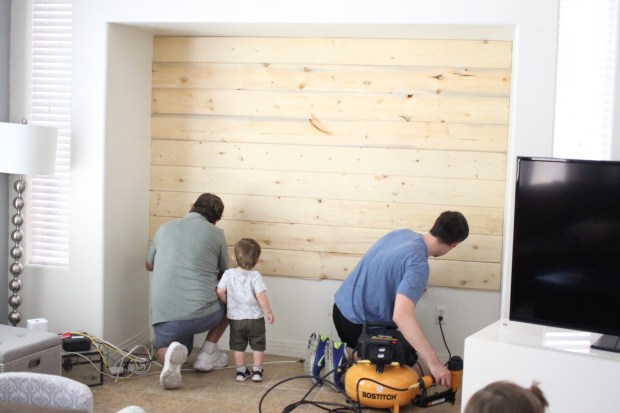
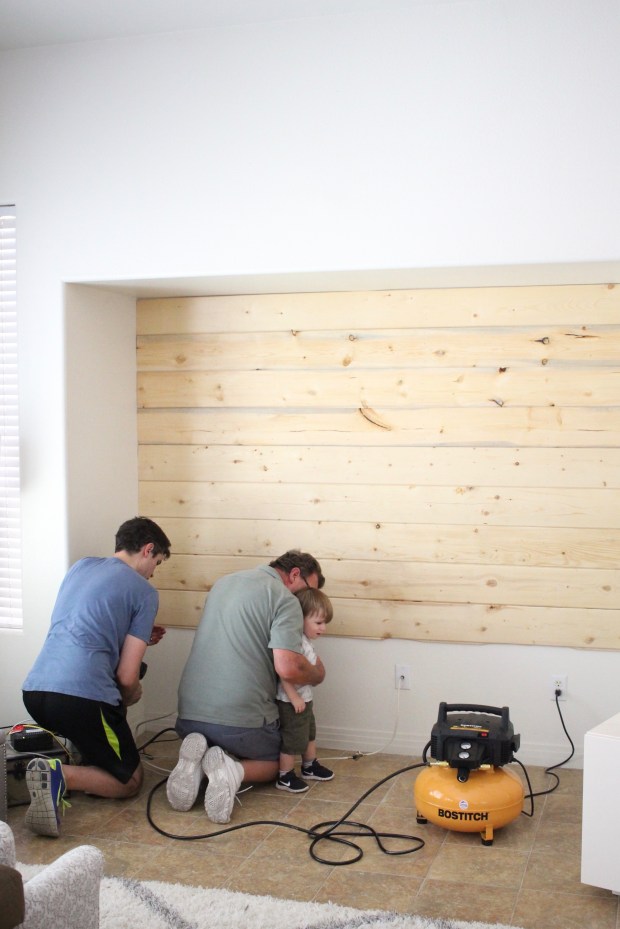
SERIOUS GRANDFATHER, FATHER, SON BONDING TIME

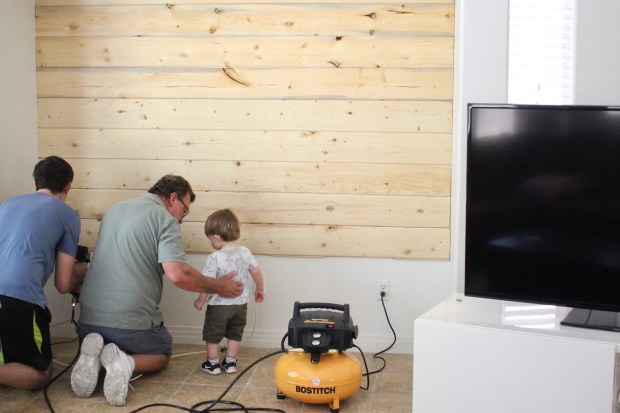
Cut to the next weekend and a trip to Lowes to buy more nails we finished nailing the shiplap to the wall!   My hubby then measured the outlets holes and made those cuts.  They aren’t perfect but they will be covered by the TV stand anyways.

IMG_3352

After the wall was attached we then had to fill the holes with painters putty.   We found that teamwork was dreamwork here.   I used an old plastic knife to get the putty in the hole and the hubby came back to smooth it out with a putty knife.  This step was so quick!

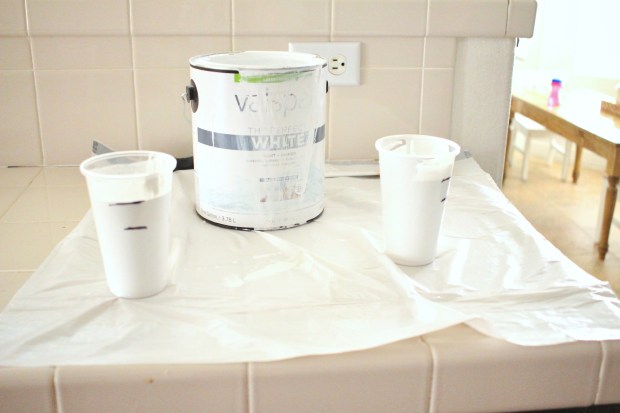
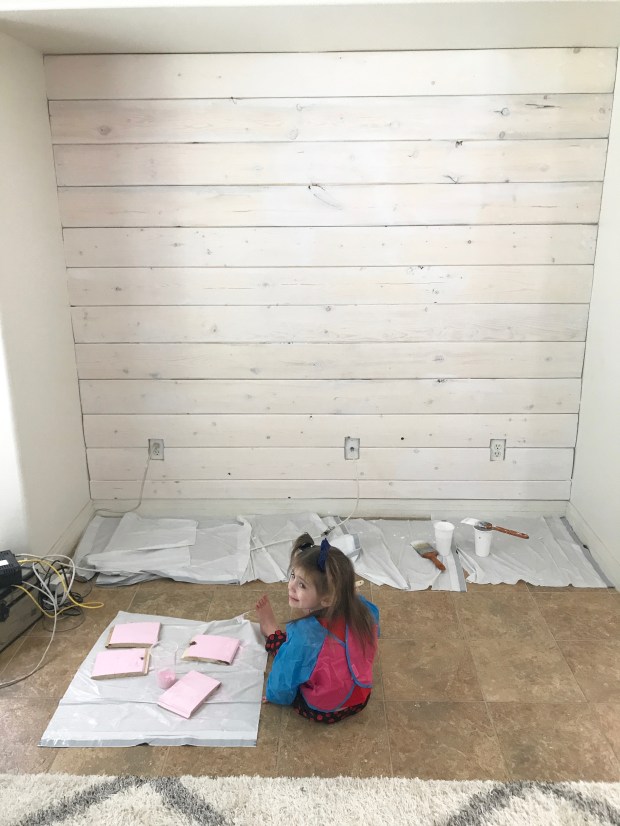
The final step is to white wash!   We wanted a white wall but still wanted the wood features to show through so we mixed 2 parts paint and 1 part water together to make the ‘wash.’   Again we felt like teamwork made dreamwork here.   I painted on the paint/water mixture and my husband whipped off the excess with an old rag. Our toddler woke up and wanted to join the fun and she had a great time painting her own shiplap.   Our younger toddler woke up next which meant work time over-project pause again.

IMG_3360IMG_3365

IMG_5335

We let one coat dry and after bedtime added a second and final coat of the whitewash.  And bam we were done!

Check out our time-lapse video of the final coat- Teamwork makes DREAMWORK!
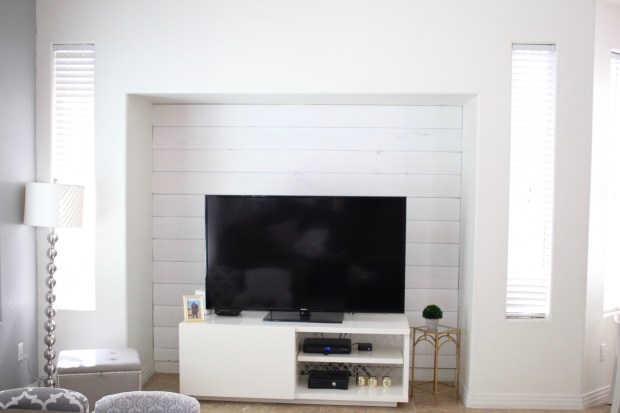
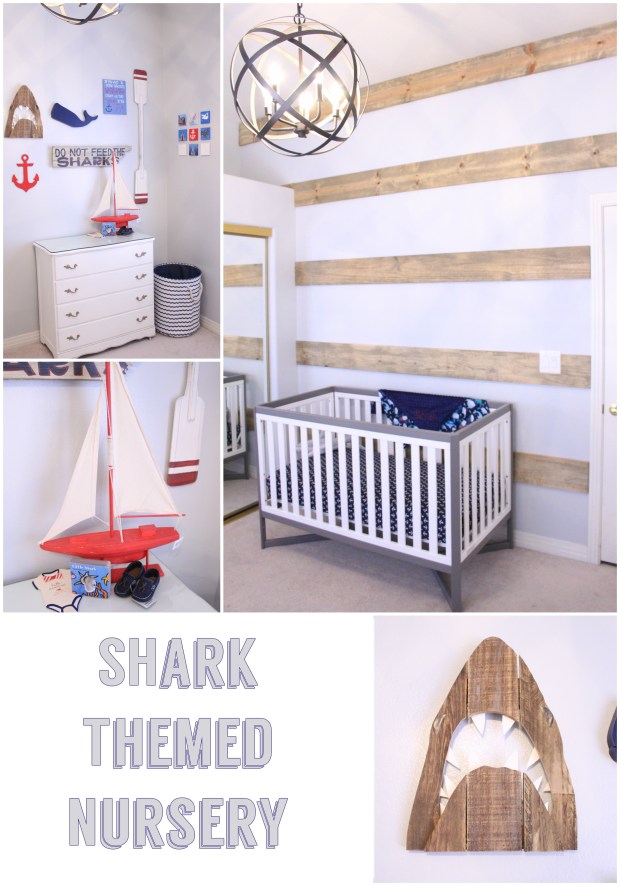
IMG_3697

AFTER PHOTO!

Here is a photo of our finished project, I’m not sold on the décor around the TV, I want to get a large sign to hang above it but I think it turned out great!

SUPPLY LIST:
-Shiplap wood
-Nail gun: the one we purchased can be found HERE.

-Nails

-Saw

-Painter’s Putty: This can be purchased HERE.
-Putty Knife: This can be purchased HERE.

-White paint

I can’t believe we did this ourselves, so if the Redlocks crew can do it you can too!  What type of projects have you done to your home?

XOXO

Your Redlocks and Shamrocks Girl,

Lisa Doyle

*This post contains affiliate links.

Shiplap1

It May Not Be Your First RODEO, but It Was His!

rodeo

It may not be your first rodeo, but it was Kohen’s!   Our little man recently celebrated his first birthday so we partied cowboy style throwing him his first rodeo!  For first birthday parties I love to do themes, easy food, and festive decor!   Did you see Logie Bears’ first birthday?  Check out that blog post here. I was lucky enough to meet the wonderful event planner of Starry Eyed Events who helped decorate part of his party.   If you are in the Las Vegas area definitely hit her up for your next celebration!  The other decor was either thrown together from what I already had or from Oriental Trading.

Our little birthday boy was too excited about the balloons that Starry Eyed Events brought that you couldn’t quite see his “My First Rodeo” t-shirt.

Cowboy gear was the dress code for the event, but if a guest came unprepared I got these cute cowboy hats and bandannas to keep everyone festive.

Starry Eyed Events did a pristine job decorating the dessert table to display tempting cupcakes and the first birthday staple, the SMASH cake!  I always say the BEST place to get a small smash cake is Albertsons!  They always do a great job for a low cost and often will throw in the smash cake for FREE if you order enough cupcakes.

fullsizeoutput_c2ed

img_1570

img_1567

img_1643img_1571img_1568

Starry Eyed Events even brought an ipod and speaker filled with country jams and rodeo tunes to set the mood and ambiance of the party.  This allowed every person to grab their partner and Do Si Do!  I put up the other decorations for the party about a week in advance.   This always helps get the kids excited and give you one less thing to do as the party day comes closer!

img_1679

Other decor I threw together was a clothesline banner displaying Kohen’s monthly photographs-he grew so much in one year!

Simple number one balloons, flowers, and mason jars were great center pieces.   And Pin the Tale on the Cow was a fun game for the toddlers at the party!

I also set out a craft for the kiddos to make their own farm out of animal stickers and construction paper.   Don’t you just love this custom farm table? We get TONS of use out of it.

img_1682

Now for the food!

I have to admit I love throwing parties but I HATE making food.   Its so much work-the planning, cooking, and clean up alone! Ugh!  I always try to buy most of the food and only make a few things.   It seems to saves energy and sometimes money.

img_1624

Pulled pork, chicken, and “KoKo Beans” (baked beans) were served in my triple crock-pot, a must for parties.

Fruit, cups of popcorn, and chips made for great rodeo side dishes.

The smash cake is always my favorite party of any first birthday!   The little one’s first taste of sweetness, will they be scared?  Like it?  Be disgusted? Devour it?

img_1819

We of course shared with our older sister!

img_1737

Happy birthday to our little Bean!  I can’t wait to see the adventures you will encounter this coming year!  

XOXO

Your Redlocks and Shamrocks Girl,

Lisa Doyle


*This blog post was partnered with Starry Eyed Events.   This was an amazing party planning company to work with and I highly recommend it.   The thoughts and opinions of this blog are my own.

Kohen’s Shark Nursery!

shark-themed-nursery

Nursery decorating might be my favorite!  I LOVED decorating Logan’s mermaid themed room and I was so excited to have a boy to do a more masculine bedroom.   I always like to go with a “non-baby” themed room so that the room can grow with the child into their elementary years.  For Kohen, we decided to go with a shark theme since he and Logan share a bathroom it would somewhat go with mermaids.

IMG_2046

A common nursery paint design is stripes and with doing a shark themed stripes were really an easy choice for a nautical component.   But I wanted to do something different so I went with a modified pallet wall!   This was SO easy and simple to put together (well for my husband and friend to put together.)   The hardest part was transporting the wood from Home Depot to our house.  lol.   I also went with a light gray as a base color, making the distressed wood “pop.”   See original tutorial here, although I did not use her same wood staining process.

Light fixture is from World Market sold here

IMG_2041

Crib:  Babies R Us-Sold out

Sheet:  Sold at Babies R us and Bed Bath and Beyond See here (Best way to save money is NOT buy the whole bedding set- you don’t need that quilt, or bumper bc of SIDs.)

Blanket: Etsy See seller here

IMG_2054

IMG_2028

Gallery Wall from various bought and made by me decor.

IMG_2053

IMG_2052

Distressed wood shark is from Etsy sold here

IMG_2033

Shark storage bins sold here

The dresser and armoire is a vintage future set passed down in the O’Rourke family.   Originally yellow and purchased by the mob, yes THE LAS VEGAS MOB, was given to my mom as a baby shower gift.   This set was refinished in the 90’s by my grandmother to go in my room and now it is in Logan’s and Kohen’s room.

IMG_6290

My FAVORITE nursery tradition, as we did this in Logan’s room too, is to have every family member paint a small canvas print to add to the nursery.  I love that this adds a little personalization to the room and you can guess what each family member painted–and if you can’t guess they write notes to the baby on the back.  Once the baby is born, we add in their footprint design.   You can see Kohen’s foot on the bottom right.   Note: Logie’s artwork on the bottom left.  

IMG_6295

Black out nautical curtains sold by by amazon here.  Curtains that block out light will really help you for nap tme!

I hope you liked taking a look in Kohen’s nursery!

XOXO

Your Redlocks and Shamrocks girl,

Lisa Doyle

Save