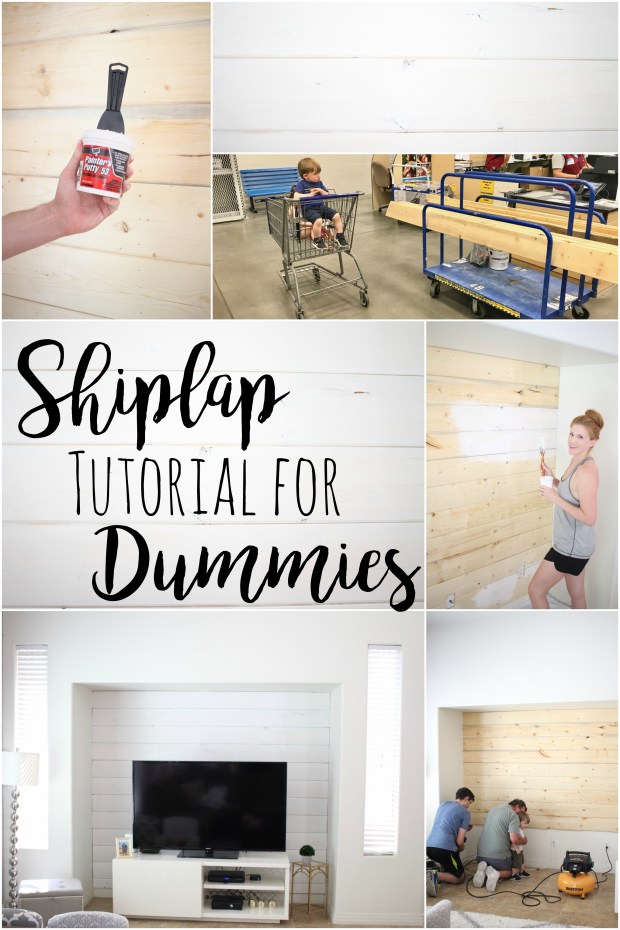
So do we even need to talk about the girl crush millions of women have on Joanna Gaines???? This chick has made the shiplap farmhouse style travel from the heart of Texas to places like Las Vegas where there are no green pastures and goats running around. I love her style BUT can’t let my house scream farmhouse living in the desert so we decided to do a small accent shiplap wall. Now when I talk about the Doyles and DIY on a scale of 1 to 10 on a home improvement scale I’d say I am a negative 5 and my husband is a 1 (sorry honey). We aren’t good at DIYs and have basically no skills when it comes to sawing, drilling, nailing, etc. SOOOO this tutorial is truly for DUMMIES as we have NO EXPERIENCE with this stuff.

A VERY UGLY BEFORE
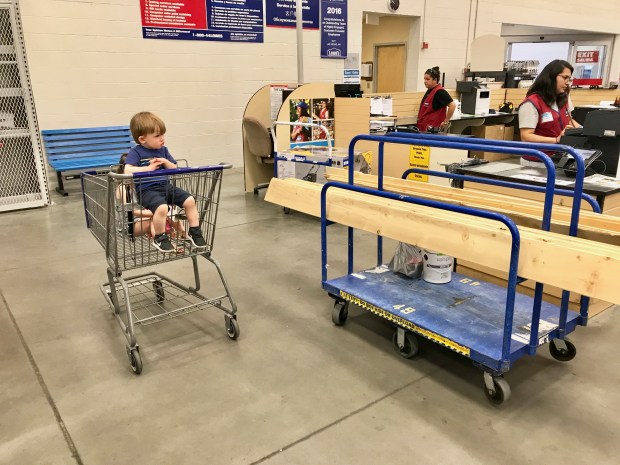
First off we went to buy the wood at our local Lowes. Now buying the wood was easy, getting it to our house was a whole other story….. 11 planks of wood, two toddlers and car seats, 100+ degree weather, and a car that was just slightly too small caused for several trips back and forth from Lowes to home. I was all ready about to give up, but my hubby preserved breaking a major sweat in the Las Vegas heat. At Lowes we also bought hole putty, a spatula thingy to apply it {yes that’s a technical term}, and white paint.
Our major purchase for this project was this nail gun from Amazon. If we already would have owned something like this {or could have borrowed one} it would have made this wall under 100 bucks to make. We are hoping to get more uses out of this nail gun as my husband feel like he can take on the DIY world now.
My husband then moved the furniture and measured the wall and cut the wood to that length. Next using the nail gun we attached the first piece of wood to the top of the wall. Using quarters as spacers we alighted the next piece of shiplap and stapled. Now this project {IF YOU DON’T HAVE KIDS} could take a few hours, but since we have two toddlers and couldn’t work during nap time because of noise issues it took us a couple of days….um weeks…. Imagine-sharp tools, a nail gun, and two screaming kids ready to get into everything. Yea it wasn’t easy but we did it! We finally got frustrated and asked for help and my dad came over to be an extra set of hands to hold the wood so I could distract the kids. And the typical first timer DIY disaster took place….we ran out of nails….DIY fail.
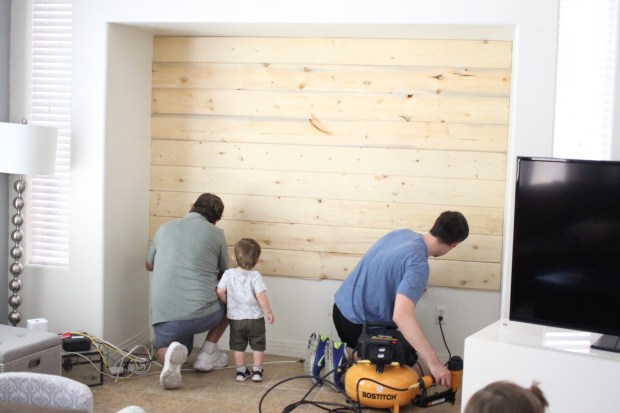
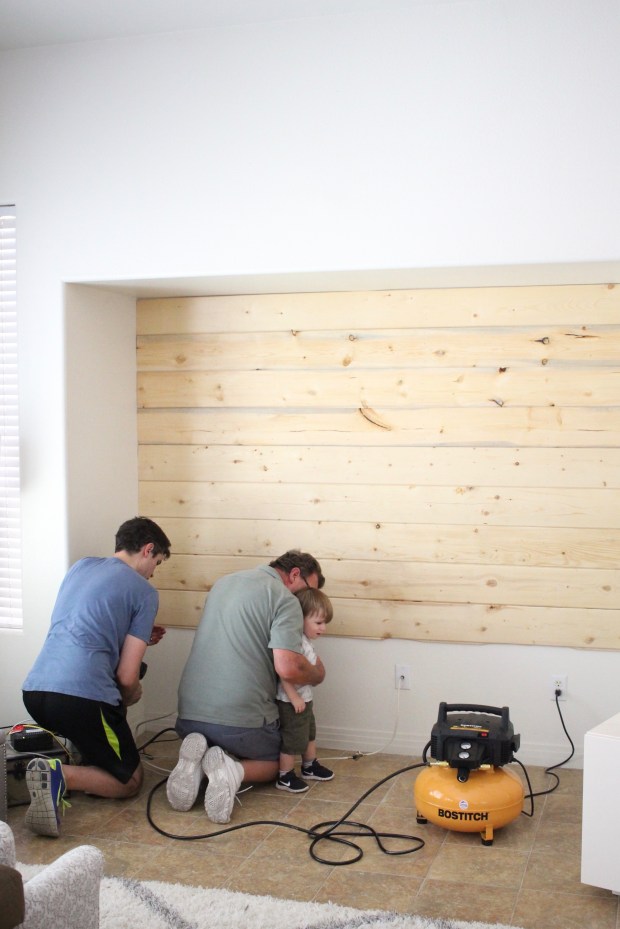
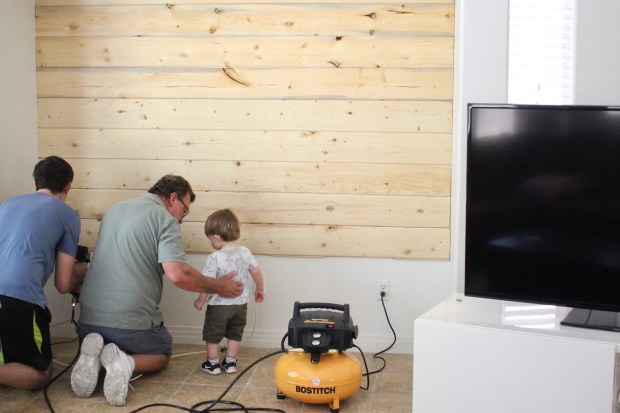
SERIOUS GRANDFATHER, FATHER, SON BONDING TIME
Cut to the next weekend and a trip to Lowes to buy more nails we finished nailing the shiplap to the wall! My hubby then measured the outlets holes and made those cuts. They aren’t perfect but they will be covered by the TV stand anyways.

After the wall was attached we then had to fill the holes with painters putty. We found that teamwork was dreamwork here. I used an old plastic knife to get the putty in the hole and the hubby came back to smooth it out with a putty knife. This step was so quick!
The final step is to white wash! We wanted a white wall but still wanted the wood features to show through so we mixed 2 parts paint and 1 part water together to make the ‘wash.’ Again we felt like teamwork made dreamwork here. I painted on the paint/water mixture and my husband whipped off the excess with an old rag. Our toddler woke up and wanted to join the fun and she had a great time painting her own shiplap. Our younger toddler woke up next which meant work time over-project pause again.
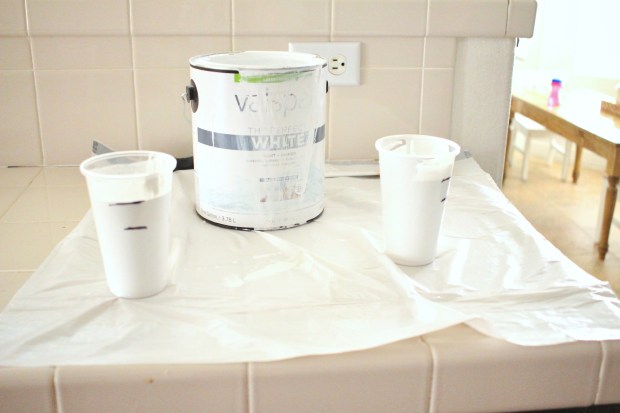

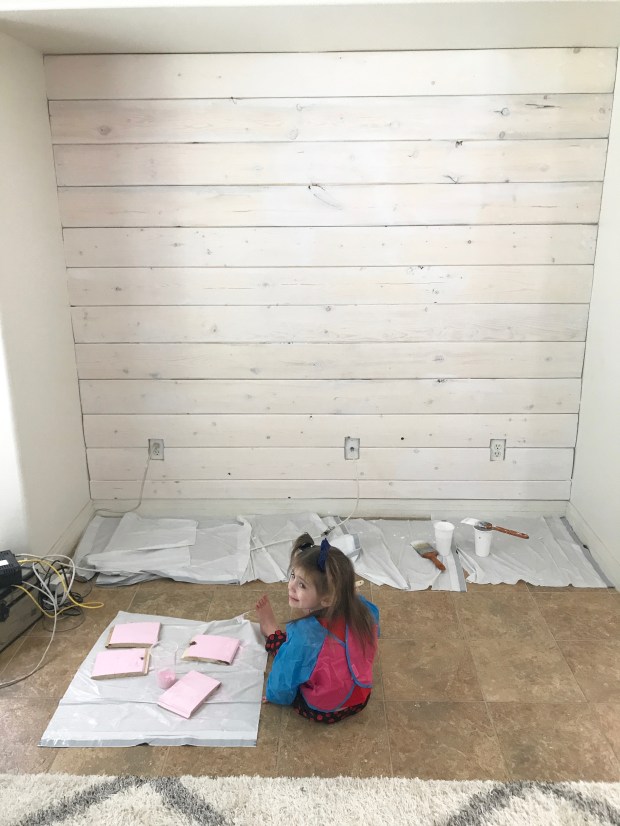
We let one coat dry and after bedtime added a second and final coat of the whitewash. And bam we were done!
Check out our time-lapse video of the final coat- Teamwork makes DREAMWORK!
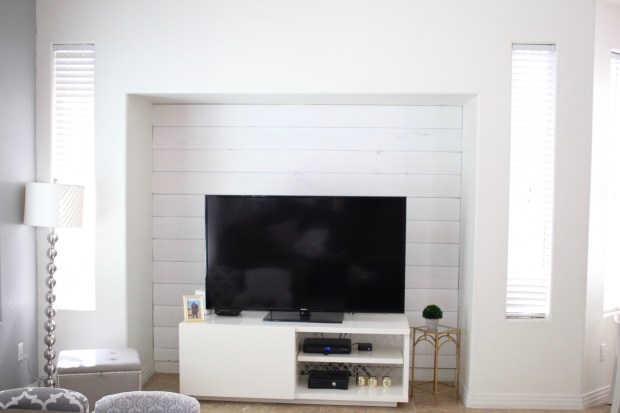
AFTER PHOTO!
Here is a photo of our finished project, I’m not sold on the décor around the TV, I want to get a large sign to hang above it but I think it turned out great!
SUPPLY LIST:
-Shiplap wood
-Nail gun: the one we purchased can be found HERE.
-Nails
-Saw
-Painter’s Putty: This can be purchased HERE.
-Putty Knife: This can be purchased HERE.
-White paint
I can’t believe we did this ourselves, so if the Redlocks crew can do it you can too! What type of projects have you done to your home?
XOXO
Your Redlocks and Shamrocks Girl,
Lisa Doyle
*This post contains affiliate links.



This is amazing! This is totally my dream to have in my home some day! Totally pinning this! 😍
LikeLike
Looks great!! I love it. I think Joanna would be proud!
LikeLike
Ohhh thank you! If only she would come decorate the rest of my house. Lol
LikeLiked by 1 person
haha right!?
LikeLike
I am SO JEALOUS of this!!!! I’ve been DYING to own a home again instead of renting so we can do projects like this!
LikeLike
Thanks hun! We have owned our home for a few years now and haven’t done anything fancy besides to our kids rooms-feels good to get a project done.
LikeLike
Oh wow!! Your DIY looks so amazing! Thanks for breaking this down – I always thought Shiplap was more complicated than this. Congrats on having such a beautiful new room!
LikeLike
Thanks hun! If my husband and I can make it happen, anyone can!
LikeLike
This looks so good! What a difference it makes to the space.
LikeLike
Girl. this looks amazing!!!!!!!!!!!!! I am obsessed!
LikeLike
Thanks hun! I’m so ready for another project!
LikeLike
I think it looks great- you are a lot more handy than I am. I like to start projects and than my husband has to come finish them which he is never too happy about
michelle
http://rosetolife.com
LikeLike
Hahah I think we only “looked” handy. I really only helped with the painting and design. Hubs did everything 😂
LikeLike
omg you crushed it! this is amazing
xx
Kali
http://www.lovelaughexplore.com
LikeLike
There are a few things you can do to make it look more polished/finished. First, take your outlets, unscrew them from the wall, and mount them outside of the shiplap. Next, you can get some 1 1/2″ corner trim and put that on the left, right, and top of the wall. Very, very simple to cut and caulk if needed. Third, remove the baseboard and put another shiplap board across the bottom. Lastly, put the baseboard back on the newly mounted shiplap board. You may need to cut the baseboard a bit since it’ll be mounted about an 1/2″ further out from the wall.
LikeLike
Thanks for the tips. This was the first time we’ve ever done anything like this, so with anything you learn every time you try.
LikeLike